 These last few months have been quite a transition period. They included finishing vet school rotations, a few trips to the US, planning a conference, studying for finals, planning a move back to the states, and taking final exams... I have actually fit in quite a bit of baking into that period (its possible I'm a stress baker, oops!), but I only recently realized that I've let the blog fall behind! My most recent baking has alternated between french macaron's (as usual) and recipes chosen purely to use up ingredients left in our cupboards - which didn't always lead to the most delicious, blog-worthy things. I do have a few newer recipes to share at some point in the future, but I decided that as I'm moving back to the US, and started this blog about baking American in the UK, maybe an old fashioned classic would be a great transition recipe. So here I present you with my favorite chocolate chip cookie recipe. (My apologies if posts continue to be sparse over the next year, I'm not sure how many hours I will get to spend outside of the hospital walls!)
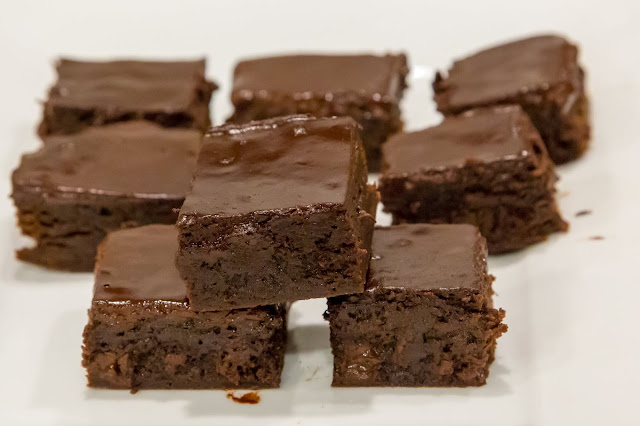
This recipe, if baked right, will give you a thick-ish cookie, soft in the middle, a little crunchy on the edges, and oh so delicious. In fact is so good I've often had people ask for the recipe, which is impressive for something as simple as a chocolate chip cookie! I'm sure anyone who bakes in the US already has their standard go-to recipe for the chocolate chip cookie, but if you ever have any disappointment in the outcome, then I recommend you try out this new variation, it has a few things going for it! Here are some of the aspects to the recipe that I think makes the difference:
- An extra egg yolk: this gives us some added thickness and softness to the cookie
- Melted butter: finally a recipe that doesn't require the foresight to soften butter in advance!
- Reliability: This is the most reliable chocolate chip cookie recipe I've ever made. Consistently delicious. (I used to use the Nestle tollhouse recipe, and found the text seemed to come out different half the times I made them..)
- Increased brown to white sugar ratio: this makes them taste even better!
- Bonus: this recipe doesn't even require electric beaters! You can use a wooden spoon, like the old days...
Notes: This recipe makes about 3 dozen recipes, and I usually pre-form them into balls, then place half of the batch into a zip lock in the freezer. Its pretty great being able to just pop two or three fresh cookies in the oven in the evening when the "need" develops (or to have a stash of cookie dough to nibble on each day). The last few years I've become a bit OCD, and have started weighing each ball of dough. Its a much faster process than I imagined, and means all my cookies are ready to come out of the oven at the same time and look great :). One more tip - when melting butter in the microwave I recommend doing it in 30 second blasts, with stirring in between, to avoid covering the microwave in butter... as I've done many a times.

|  |
Chocolate chip cookies (soft and chewy!)
(barely adapted from cooks illustrated) Makes ~3 dozen
Ingredients:
170 grams (12 Tb) unsalted butter, melted and cooled a few minutes
1 cup packed brown sugar
1/2 cup granulated sugar
1 egg plus 1 egg yolk
2 tsp vanilla extract
1/2 teaspoon baking soda
1/2 teaspoon salt
2 cups plus 2 Tb all purpose flour
1 1/2 cups semisweet chocolate chips or discs, or 150 grams chopped chocolate bar of your favorite type. (I usually opt for 70% bittersweet).
Make the cookies:
Preheat the oven to 160c (325f)
- Mix together the cooled melted butter with both sugars.
- Mix in the egg, yolk, vanilla, baking soda and salt until mixed through.
- Add in the flour, and stir till its incorporated. Then mix in your chocolate of choice.
- Roll the dough into balls of dough, and place them on a parchment paper lined cookie sheet. (I weigh mine to each be 1 1/4 to 1 1/2 ounces). If you are baking these later, then chill them in the fridge on the tray for a few hours, then put them in a ziplock bag and store in the freezer till ready to bake. (Add 2-3 minutes to your baking time, if these are out of the fridge!)
- Bake for 10-15 minutes, monitoring them closely. Rotate cookies halfway during baking. They are ready when the edges have started browning a little, but the centers are still a little under-cooked. Let these cool completely on the cookie tray, set on a wire rack (cooling on the tray helps it keep the soft texture).


No comments:
Post a Comment