
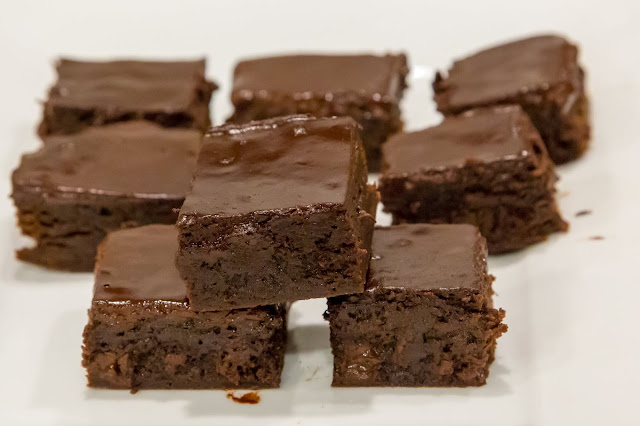
Browsing facebook this time of year makes me very aware that I am sadly missing yet another girl scout cookie season back in the states. Last year I tacked homemade Samoas with great success - and found that they are very delicious home made (and not even that much of a hassle if you don't mind sacrificing the original shape). I had also previously made a few attempts at thin mints, but they never tasted quite right.
So when someone sent me a link to yet another thin mint recipe this year, I decided to give it a try. I was hesitant at first because the recipe was featured on a healthy blog, full of vegan and gluten free substitutes, and in my past experience they are often willing to substitute taste for healthiness (pretty much the opposite of my baking philosophy). But it turned out this recipe makes a perfect cookie base for the thin mint - tender, crunchy, chocolaty.... and easy! (And even better, it may make a perfect base for a home made oreo, but only time will tell...). The husband even said these are better than real thin mints (though we haven't had those in a few years...) They are certainly just as addicting.

While the cookie base is easy and quick to make, the chocolate mint covering will be better if you are willing to take the time to temper your chocolate. Tempering (basically slowly heating and cooling the chocolate to a precise temperature range) will give you a crispy shiny coating that does not melt when you pick it up, and stays firm at room temperature. However if you are not patient (or don't own a good thermometer), then it is fine to just melt the chocolate, let it harden in the fridge, and store them in the fridge. They should still taste good! (I love my infared thermometer I got for a present!)

NB: when choosing your peppermint extract, make sure it does not contain water in it. And keep in mind when choosing your chocolate that if you pick a darker one you get a pretty rich, adult version of the thin mint.
Edit (April 2014): Some readers have mentioned that they had some left over melted chocolate when they made these, so I've changed the chocolate amount to 3/4-1 pound. I personally find I use the entire pound when I've made them. If you do have extra chocolate, a reader suggested dropping little circles of chocolate onto some parchment paper and placing them in the fridge for 10 minutes - to give you a delicious chocolate mint snack.
Homemade thin mints
(cookies adapted from: mother nature network)
makes 3-4 dozen cookies
Ingredients:
113 grams (1/2 cup) unsalted butter, at room temperature
1/2 cup white sugar
1/2 cup cocoa powder
1 tsp vanilla extract
1/4 tsp salt
3/4 cup white flour
1 tsp peppermint extract (mine was labelled "american peppermint"
3/4 - 1 pound 72% chocolate, chopped finely
Directions:
- In a medium bowl, cream the butter and sugar together. Add in the cocoa powder, salt and vanilla and mix well. Add in the flour and mix until it is all combined - it may take a little while to come together.
- Press together dough if necessary, and turn out onto a sheet of ceran wrap. Shape dough into a 1.5 inch thick log, and roll and wrap tightly in ceran wrap. Place in freezer for 15 minutes, or fridge for a few hours or overnight.
- Preheat the oven to 176c (350 f) and take the dough out of the freezer. Using a sharp knife slice off thin, 1/8 inch thick slices of the log and place on a parchment lined cookie sheet.
- Bake the trays for 10-12 minutes, until the edges look like they are just starting to gain color and/or feel firm. Cool on wire racks.
- Temper the chocolate: Place the peppermint extract and 3/4 of the finely chopped chocolate in a bowl over a pot of simmering water. Monitor closely and stir as it melts, and pull it off the water when it is mostly melted. At this point add in the rest of the chopped chocolate and stir until it is smooth. Place your bowl on/in a towel (to maintain heat), and wait patiently for it to cool to between 88 and 90 f, stirring a bit to keep the temperature even. As your chocolate is cooling, lay out some pieces of parchment paper on stiff surfaces (cookie trays, cutting boards etc), for the cookies to cool on.
- Once your chocolate is melted and at the right temperature, dip each cookie in the chocolate, and place to harden on the parchment paper. (you may need to place add some heat to the chocolate part way through to keep it warm enough). I personally use two forks to maneuver the cookie, then raise it covered in chocolate on one fork and use the other to scrape off the excess chocolate on the bottom. You can speed up the cooling process in the fridge.
- Enjoy! Try not to eat them all too fast!


Let it harden
ReplyDelete